New imaging technology to design and build greener and safer aircraft
The University of Southampton is helping to develop new imaging technology to be used in the design, manufacture and maintenance for current and future generations of carbon composite aircraft.

Led by QinetiQ, the UK consortium of the University of Southampton and University College London (UCL) and four companies in ProjectCAN brings together world leaders from academia, the aerospace industry and X-ray inspection equipment manufacture.
As part of the government’s Aerospace Technology Institute, Innovate UK, the UK’s innovation agency, has provided the team with significant funding to develop two new non-destructive testing processes for the detection of flaws in composite aerospace components.
The University of Southampton’s µ-VIS Centre for Computed Tomography is host to one part of this three-year project. Together with Nikon Metrology UK Ltd, it aims to develop and test methods for scanning and visualising the insides of large, flat components using X-rays. The partners will develop both the system for acquiring scan data and software to reconstruct it into a 3-D volume image, allowing manipulation and visualisation using standard software.
“Conventional computed tomography (CT) techniques are widely used but are not well suited to image extended flat objects,” said Dr Thomas Blumensath, of the University of Southampton. “We will be developing an alternative technique, which applies computed laminography (CL) techniques, to overcome the limitations of conventional CT for large, flat components. This will enhance our ability to find defects in large composite parts, such as those which are increasingly used in modern aircraft.
“This will ultimately help in the production and maintenance processes and will assist in the development of more environmentally-friendly aeroplanes, as well as enhanced overall aircraft safety.”
Traditional CT requires the scanned components to be fully rotated, and will yield optimal results only when the X-ray attenuation for each angle is broadly similar. It is impossible to scan very large parts due to space restrictions; when scanning smaller flat panels, the variation of attenuation across the angles can become too large for optimal imaging. CL systems use a different motion, such as linear translation or limited-angle rotation, to scan components where CT is impossible or ill-suited.
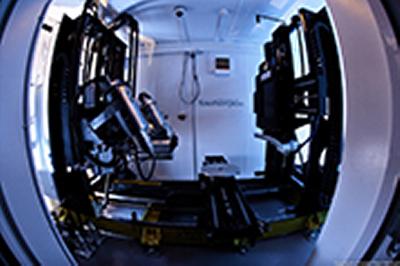
A laminography system comprises the hardware that positions the sample, source and detector to acquire 2D projection data, as well as an algorithm to reconstruct a 3D volume image from the data. ProjectCAN will develop both this hardware and software to allow laminographic imaging within the custom Nikon Metrology 225/450kV X-ray scanner already in service in the µ-VIS centre at Southampton.
In parallel with the work at the University of Southampton and Nikon Metrology, the team at Axi-Tek and UCL will be developing a new backscatter x-ray inspection technique to non-destructively inspect large area composite structures such as wing sections, engine cowlings and fuselage components. Sometimes referred to as “one-sided” x-ray inspection, backscatter uniquely allows the x-ray investigation of the structural integrity of composite materials from a single side of the component, that is, the x-rays do not have to pass through and out the other side of the component. To enhance this technique, the team also intend to combine the backscatter x-ray with more conventional optical surface inspection.